Pages

Showing posts with label party. Show all posts

Sunday, June 19, 2011

Birthday treats - cherry slice recipe

The party at the park (yesterday) was lots of fun. I hope the guests had as much fun as we did :) Here are some pictures from the grand occasion.

Ahhh... I see what all the fuss was about... Cake IS good!

Good boy, reading the cards first!
Zingzilla Birthday cake made by me. Shame about
the teenage acne he seems to have!!
Cupcake tree makes its usual party appearance :)

Why yes - here in Australia, we really DO ride kangaroos to school!

_________________________________________________________________________________

Cherry Slice, Lime slice and Fruit Kebabs
(on Paddlepop sticks to minimise risk of injury)


Cherry Slice Recipe:

Ingredients:
A) 1 pack scotch finger biscuits (I am lazy and these are easiest to crush)  and 3/4 cup of shredded coconut (desicated would also be fine)

OR

B) 3 cups of coconut

1/2 pack of those sticky cherries you buy in the cooking aisle, chopped fine
1/2 can condensed milk
100g melted butter
Pink colouring (optional)
375g block of dark cooking chocolate
1/3 cup cream
(8 x 8" slice tray, saucepan for melting chocolate, two mixing bowls)

Method:
1. Crush biscuits. Or, preferably, find someone to do it for you ;)
2. Add shredded coconut.
3. In a separate bowl, mix condensed milk and butter until combined. Add chopped cherries and a tsp of food colouring (if desired)
4. Add 'wet' ingredients to dry ingredients
5. Press into your slice tray and refrigerate
6. Melt dark chocolate. Add cream and blend well.
7. Pour over slice base
8. Return to refrigerator until set
9. Cut with a hot knife

______________________________________________________

This is my own recipe, but I have taken inspiration from my friend Tameka who makes an absolutely unbeatable cherry ripe slice (much more fiddly than this one) and my oldest friend Jo - who loves no fuss cooking as much as I do (and who gave me the easy lime slice recipe that I used as a base).

Friday, June 17, 2011

Bean bags for toddler games...

Well, after a freak rainstorm forced us to postpone Small Boy's FIRST Birthday celebrations, we were a little bit down. This week we're back to being all psyched about the big event :)

We're basically repeating the celebrations of the first two first birthdays. Does anyone else feel obligated to make sure that nobody misses out by giving each of your children the same experiences - as misguided as they may be? (More about that another day) Well in our household, a first birthday party means friends at the tiny park down the road, a themed birthday cake and bocce. So that is what is on the cards tomorrow!


However, because we now have lots of friends with tiny people in their lives, I'm having to add some special toddler games into the mix. Small Boy got a bubble blowing machine for his special day, so we'll be firing that up. I also thought 'Rob the Nest' would be kind of fun to watch. If you don't know what 'Rob the Nest' is, click here. Think small people frantically running with bean bags, looking bewildered when finding their nest empty, despite all their hard work! I know... I'm a sadist, but it was always one of my favourite parts of being a junior primary teacher. The inner smirks I would have watching that game!!!

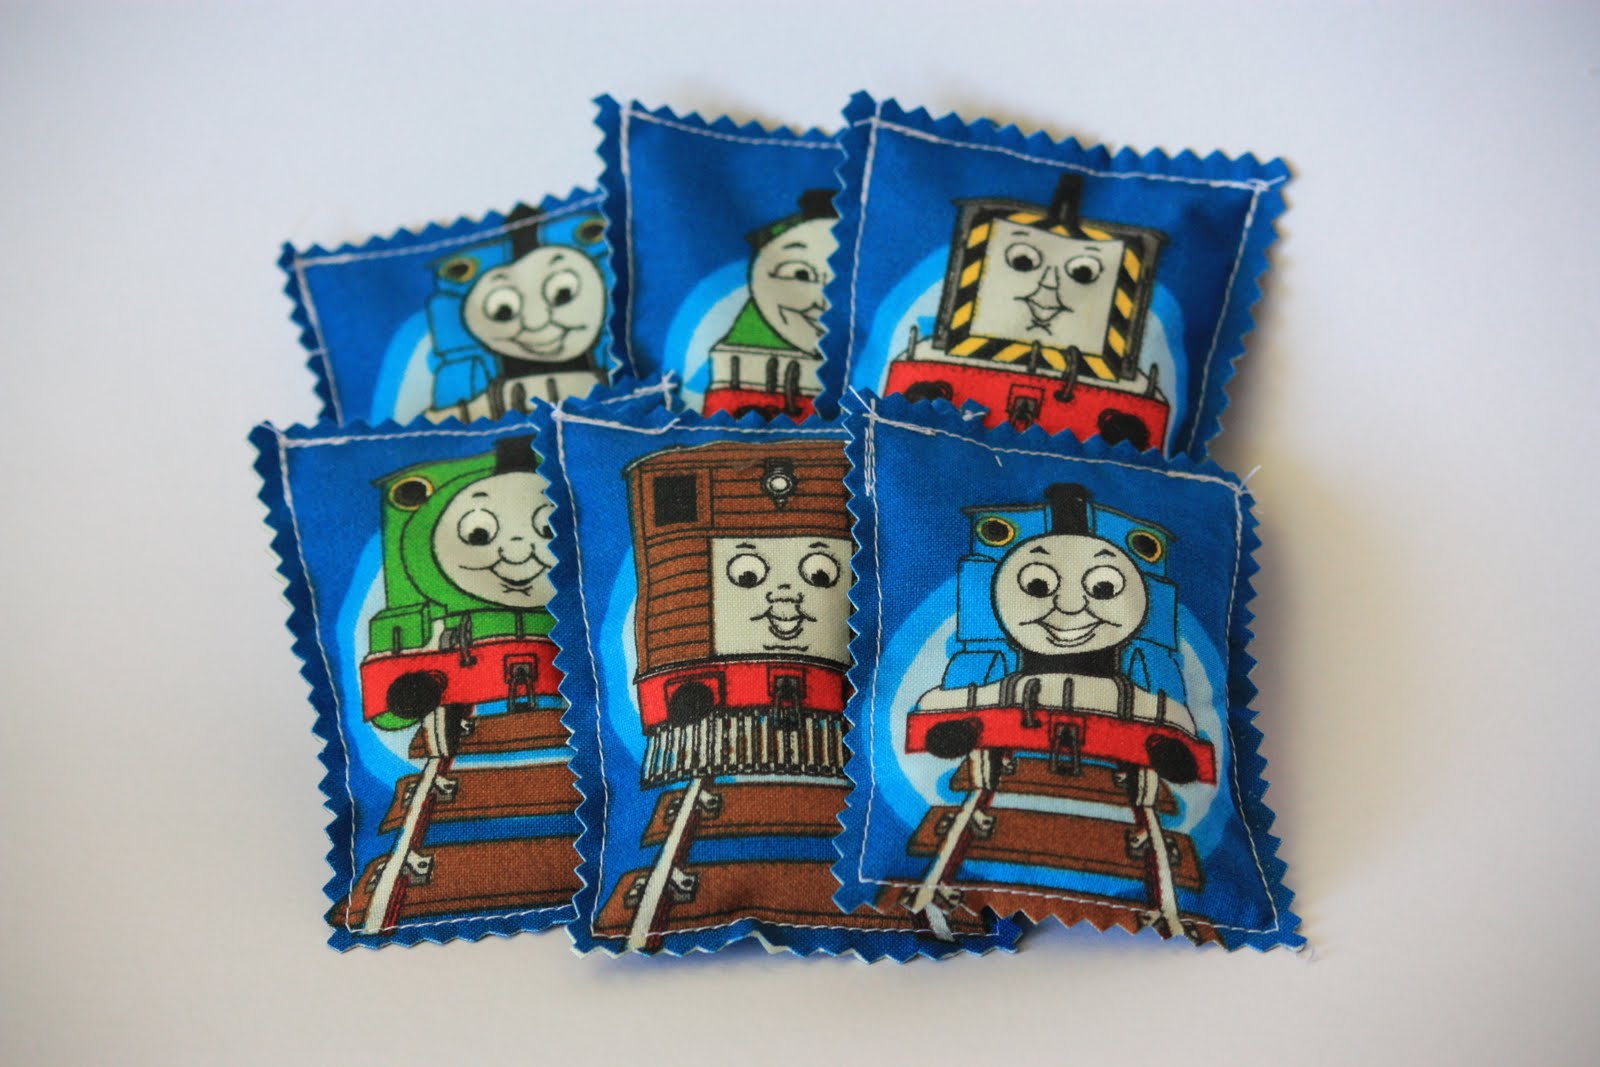
Anyway, the party is fast approaching, so I took two hours out of my kitchen work to rustle up some (26 to be more precise) bean bags. They are a little bit, let's say rustic to look at I'll admit, but not bad for a couple of hours work (with two mini-helpers to boot).


I chose rubber-backed curtain fabric because a) it has bright-coloured, fun designs b) it might be a little bit more waterproof c) it doesn't fray d) it was what I had on hand


_________________________________________________
In case you want instructions, here they are:

BEAN BAGS

You will need:
* rubber backed curtain fabric
* rice
* pinking shears

Method:
1. Cut rectangles from your material
2. Sew along three sides of each rectangle, making sure the 'open' side is a short one. I sewed over the corners for extra strength, but in hindsight, I think maybe I should have sewn all around three or four times for strength.


3. Carefully pour rice. Aim to half-fill each 'pocket'

This is as close as she got to pouring the rice. We were on a time limit
after all and I have no time for extra vacuuming today!


4. Carefully sew the bags shut


5. Trim the edges with pinking shears and you're done!


What do you think? Will they stand up to a kids birthday party?
I love reading your comments, thanks for stopping by :)