You know what? I don't want to play this one. Life is so unpredictable and I want to live in the moment.
In ten years I hope I will be:
ten years older
more patient and wise
happy and healthy
That's it. I'm a pretty lucky girl these days - a patient and loving husband, three beautiful children, a paying job and a comfortable (if slightly decrepit) house. I don't feel I can ask for much more!
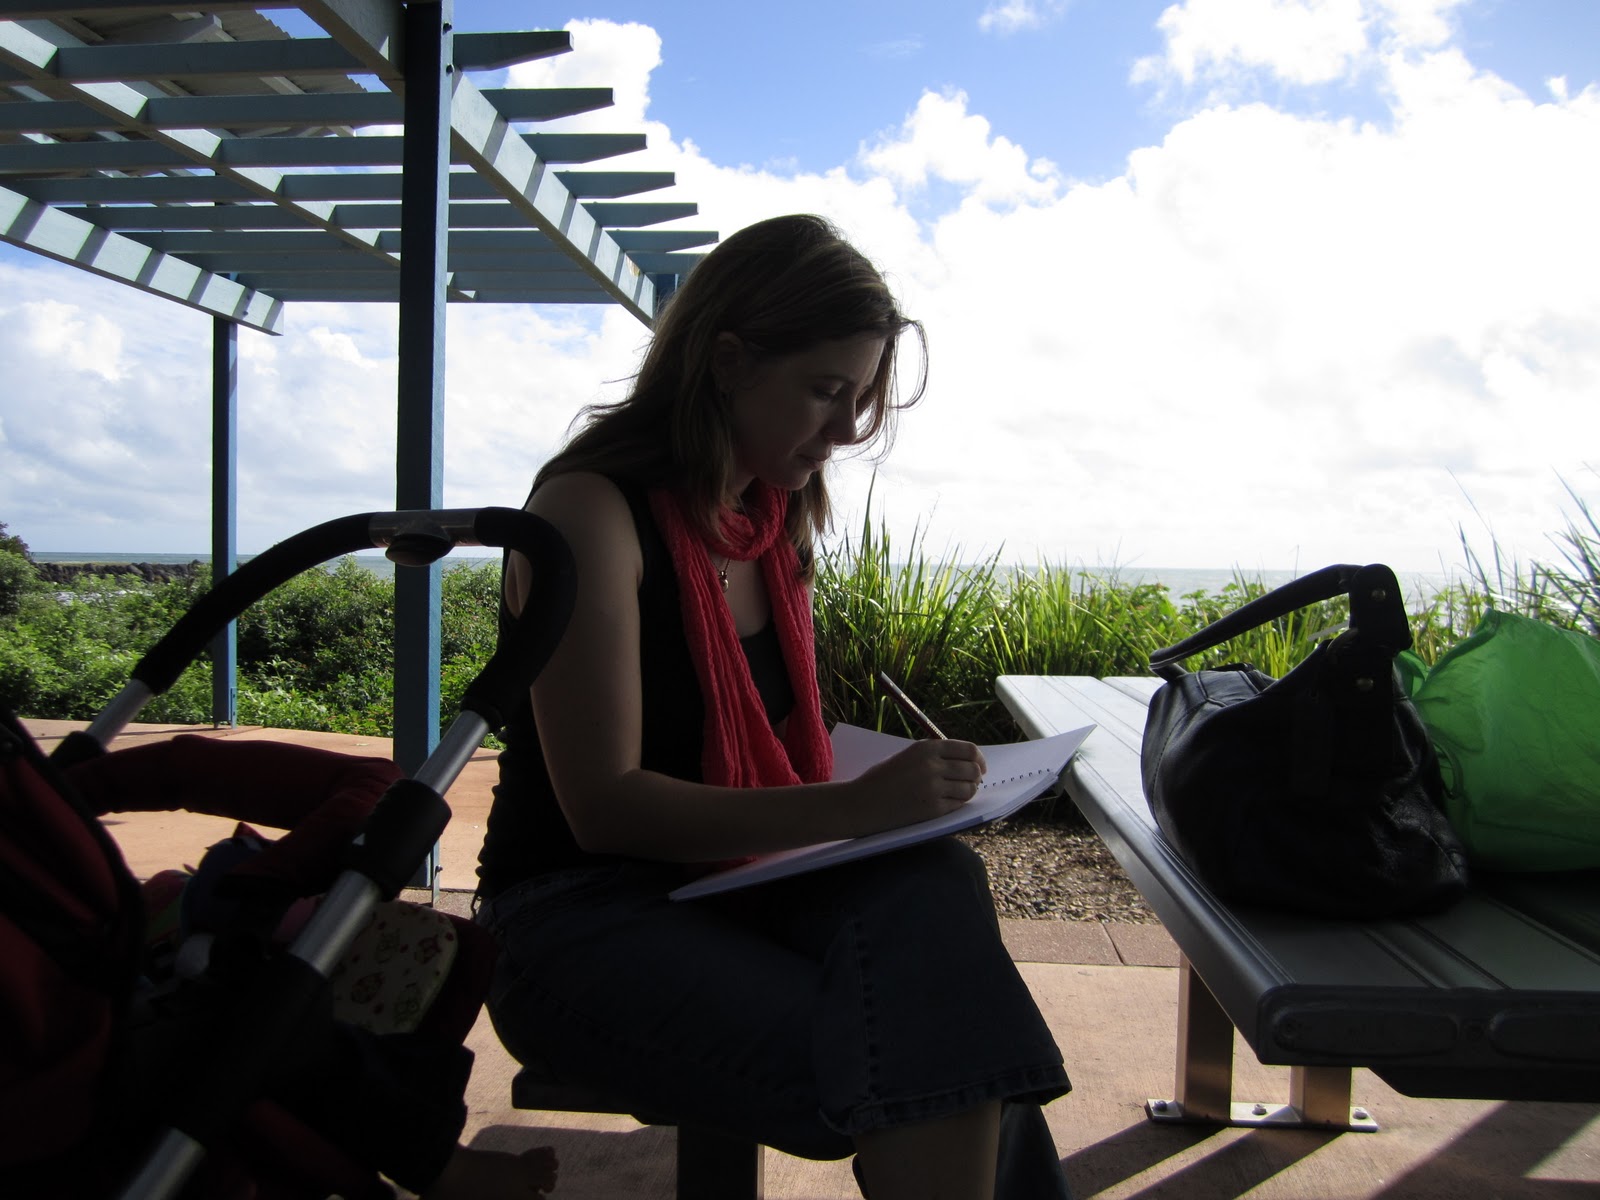
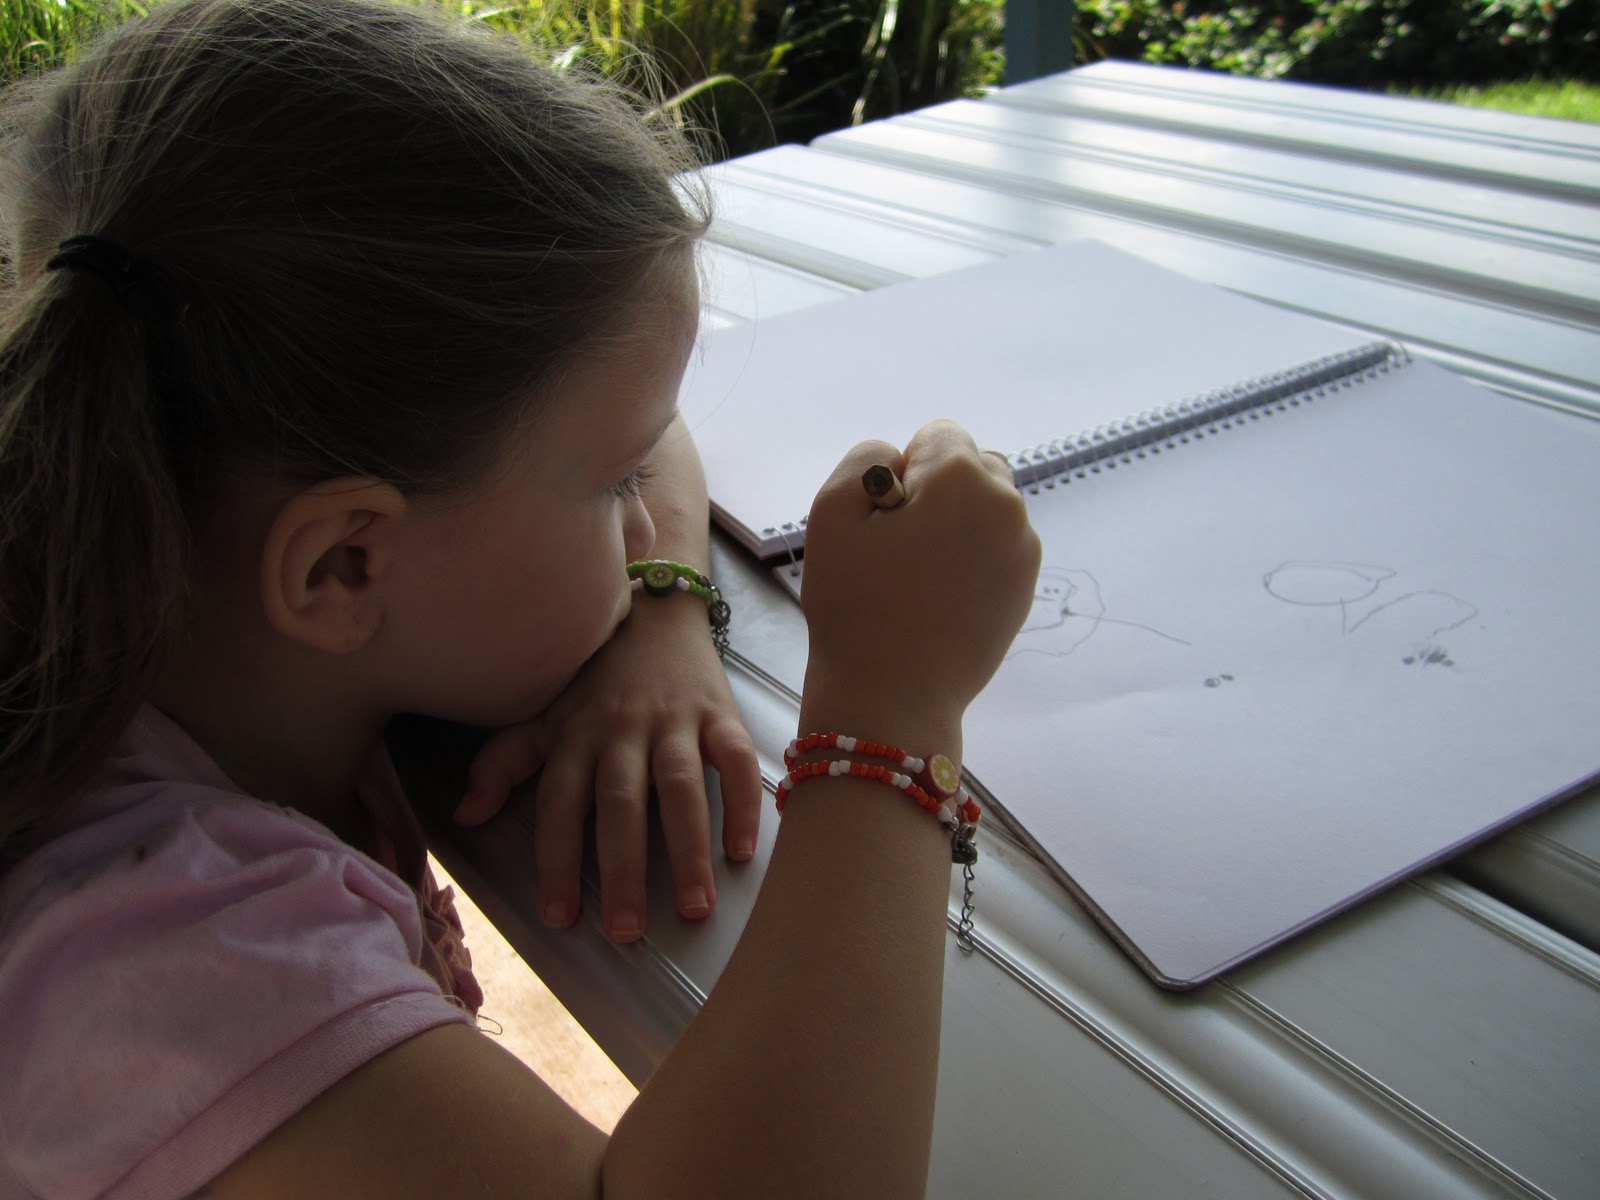
On a side note, I went to an arts professional development this evening. The 'Art lady' was going around examining everyone's work
"Lovely!"
"Wow, I like the way you've made those colours pop!"
"Look at that - beautiful"
Then she got to me. Do you know what she said to me?
"Oooh, looks like you're enjoying those pencils!"
Ha!
Showing posts with label art. Show all posts
Tuesday, May 6, 2014
Monday, July 8, 2013
My favourite wall
We have a huge wall that runs up along our staircase at home. It is visible from our lounge/dining and kitchen and was so bare and so blank for so long (ten years in fact).
The problem was not so much deciding what to put there, it was more the whole putting my money where my mouth was and getting something printed.
I knew I wanted canvas. I knew I wanted happy memories. I knew I wanted photographs we'd taken. Picking them was the first hurdle. On the one hand we had pretty good photos we'd taken - but they seemed to lack personality and... happiness. Then we had photos that were great mementos of fantastic days, but they fitted more into the snapshot variety.
In the end I decided on happy memories. After all, who cares if it's a masterpiece - I wanted something that made me smile every time I looked at it.
Then we had to find the right deal. Anyone who knows me well knows I'm a bargain hunter. I wanted HUGE but on a TINY budget.
I ended up finding a couple of deals through Groupon with Fabness and a fb site "Cheap Canvas Prints". In the end I was able to do the more grown up landscape prints I wanted AND the fun family memories. I got seven enormous prints (ranging from 40cm x 60 to 100 cm x 50cm) for around $200 delivered.
So here it is... my favourite wall
The top image was taken in Verona last year - after a trip to finalise some details with my Grandfather's estate (and a visit to other relatives) we took a detour on the way home. Italy always lifts my mood after saying goodbye to my family. This photo was taken at the end of a long and satisfying day - full of crepes, pastries and hot chocolates as we strolled along cobbled roads and shaded pathways.
Miss Piggy and I had been pirouetting in the town square just before taking this photo - we looked downright crazy, but why not? We were in a magical place where nobody knew us! We balanced the camera in the seat of the stroller outside the front of our hotel. After the photo, we climbed the stairs to our ancient but gorgeous hotel room - with a huge comfortable bed under a skylight that let us see the stars. A day that will be hard to beat.
I don't care that a lamp post dominates the picture or that the lines are not really in keeping with rules of photography. I love the colours and the feeling it gives me when I stop to look at it. It really takes me back.
The bottom image was taken a few months later - under a setting sun at a local beach. It was windy Wintertime but we had so much fun chasing the kids on the wet sand. We have lots of snaps from this happy afternoon. And I love that J's hands are on Small Boy's chumpy little legs - it reminds me of that newly-two-year-old who just loved to run and whose little legs didn't listen to mummy.
We used a tripod placing the camera above our heads, a timer and some long arm stretches to press the button. The sand around our feet is pretty messy - but that's because we've been running around like maniacs for an hour. I'm sure a professional could pick dozens more faults with this photo... but I love it.
I'm so glad that I waited those ten years to fill this wall - because I filled it with pictures of our completed family. We're all there, and we're all happy and for that reason these photos are the epitome of perfect to me :)
(Inspiration for this post comes from reading Kate's post at Picklebums)
The problem was not so much deciding what to put there, it was more the whole putting my money where my mouth was and getting something printed.
I knew I wanted canvas. I knew I wanted happy memories. I knew I wanted photographs we'd taken. Picking them was the first hurdle. On the one hand we had pretty good photos we'd taken - but they seemed to lack personality and... happiness. Then we had photos that were great mementos of fantastic days, but they fitted more into the snapshot variety.
In the end I decided on happy memories. After all, who cares if it's a masterpiece - I wanted something that made me smile every time I looked at it.
Then we had to find the right deal. Anyone who knows me well knows I'm a bargain hunter. I wanted HUGE but on a TINY budget.
I ended up finding a couple of deals through Groupon with Fabness and a fb site "Cheap Canvas Prints". In the end I was able to do the more grown up landscape prints I wanted AND the fun family memories. I got seven enormous prints (ranging from 40cm x 60 to 100 cm x 50cm) for around $200 delivered.
So here it is... my favourite wall
The top image was taken in Verona last year - after a trip to finalise some details with my Grandfather's estate (and a visit to other relatives) we took a detour on the way home. Italy always lifts my mood after saying goodbye to my family. This photo was taken at the end of a long and satisfying day - full of crepes, pastries and hot chocolates as we strolled along cobbled roads and shaded pathways.
Miss Piggy and I had been pirouetting in the town square just before taking this photo - we looked downright crazy, but why not? We were in a magical place where nobody knew us! We balanced the camera in the seat of the stroller outside the front of our hotel. After the photo, we climbed the stairs to our ancient but gorgeous hotel room - with a huge comfortable bed under a skylight that let us see the stars. A day that will be hard to beat.
I don't care that a lamp post dominates the picture or that the lines are not really in keeping with rules of photography. I love the colours and the feeling it gives me when I stop to look at it. It really takes me back.
The bottom image was taken a few months later - under a setting sun at a local beach. It was windy Wintertime but we had so much fun chasing the kids on the wet sand. We have lots of snaps from this happy afternoon. And I love that J's hands are on Small Boy's chumpy little legs - it reminds me of that newly-two-year-old who just loved to run and whose little legs didn't listen to mummy.
We used a tripod placing the camera above our heads, a timer and some long arm stretches to press the button. The sand around our feet is pretty messy - but that's because we've been running around like maniacs for an hour. I'm sure a professional could pick dozens more faults with this photo... but I love it.
I'm so glad that I waited those ten years to fill this wall - because I filled it with pictures of our completed family. We're all there, and we're all happy and for that reason these photos are the epitome of perfect to me :)
(Inspiration for this post comes from reading Kate's post at Picklebums)
Wednesday, June 27, 2012
Verona artwork
We had such a happy, relaxing time in Verona earlier this year and I wanted to make something as a personal reminder. Something small, but something I could look at and smile while I remembered what a beautiful few days were spent with my little family.
My house is a little bit old fashioned on the inside - we have a country style kitchen with small blue tiles on the tops and up the walls, stained glass in our cabinets and blue trimming sneaking out around our house with the lower half of our walls painted eggshell blue (it's ok, it's not as weird as it sounds). I wanted something classic and blue, I thought kind of like a Willow dinnerplate but with a difference.
While we were at Juliet's house (as in Romeo and Juliet, as in the girl who inspired the novella that inspired Shakespeare to write his play) I saw some plate fragments that had been unearthed and pieced together and I knew they might help me in my quest.
I also wanted to incorporate some Italian phrasing I'd seen on a travel show. Apparently, on a bridge to Tiber Island, in Rome, there is grafitti which reads "Ti amo da qui... alla fine del mondo.. di nuovo qui... all'infinito..." which roughly translates as "I love you from here.. to the end of the world.. to here again, on and on forever." It's the sort of way we feel about each other round here!
So here it is: rocks, waves, leaves, love... and since it's done in sharpie, it will last infinito!
My house is a little bit old fashioned on the inside - we have a country style kitchen with small blue tiles on the tops and up the walls, stained glass in our cabinets and blue trimming sneaking out around our house with the lower half of our walls painted eggshell blue (it's ok, it's not as weird as it sounds). I wanted something classic and blue, I thought kind of like a Willow dinnerplate but with a difference.
While we were at Juliet's house (as in Romeo and Juliet, as in the girl who inspired the novella that inspired Shakespeare to write his play) I saw some plate fragments that had been unearthed and pieced together and I knew they might help me in my quest.
I also wanted to incorporate some Italian phrasing I'd seen on a travel show. Apparently, on a bridge to Tiber Island, in Rome, there is grafitti which reads "Ti amo da qui... alla fine del mondo.. di nuovo qui... all'infinito..." which roughly translates as "I love you from here.. to the end of the world.. to here again, on and on forever." It's the sort of way we feel about each other round here!
So here it is: rocks, waves, leaves, love... and since it's done in sharpie, it will last infinito!
And in case you were interested, here are some of the plate pieces from Juliet's house:
Mr Z managed to sneak into this one ;)
and me on Juliet's balcony ;)
and he's done it again!
So... what do you think?
Sunday, June 10, 2012
Hmmm... Mack? or Mater?
Yesterday my small boy turned two. I, being the sentimental mother, cried twice because I no longer have a baby in my house.
It hurts when they turn two. No more shopping in the baby section, no more specially prepared dinners since they seem to be able to hang out until family dinner time. More rules, more nos, less cuddles, more "I do it!" moments. They don't need you so much at two. And really, isn't being needed one of the nicest things about motherhood? Being actually useful, indespensible, the only one who can do your job. You're kind of replaceable in all your other roles in life.
Remember here I said I feel obligated to provide 'repeat experiences' so that all of my kids got the same opportunities in childhood? I will get around to writing about the other silly things I've done one of these days. Well, the home-made and decorated birthday cake is one of thoseburdens obligations I have handed myself. I try to make them a cake that represents their interests at that moment in time. With Mr Z about to turn 7, I'm wondering when it will all end - age 10? Whoa, that's 30 cakes I have to devise and create. Easier said than done.
Anyway. I set the bar kind of high with my other kids' cakes, so I knew this one had to be special. My little M doesn't really have favourite activities (except stealing my iPhone), he doesn't have a favourite teddy to cuddle, he doesn't have any real obsessions (except yoghurt, and throwing things down the stairs). But he does seem to gravitate toward a certain 'hand-me-down' Mack Truck which transforms into a race track. So I decided to go with that.
I made it the night before after three glasses of wine (we'd been at another party), am concerned it's a little more red Mater than Mack Truck, but the kids seemed to like it. I misjudged the hat size when I cut the cake blocks, I hadn't realised how central Mack's Trucker cap was to the character before I started. Although, that was probably due to the wine, it seems so obvious now!!!
Anyone wanting some tips from a *very* amateur cake maker? I always think it's best to learn from other people's mistakes, don't you?!
It hurts when they turn two. No more shopping in the baby section, no more specially prepared dinners since they seem to be able to hang out until family dinner time. More rules, more nos, less cuddles, more "I do it!" moments. They don't need you so much at two. And really, isn't being needed one of the nicest things about motherhood? Being actually useful, indespensible, the only one who can do your job. You're kind of replaceable in all your other roles in life.
Remember here I said I feel obligated to provide 'repeat experiences' so that all of my kids got the same opportunities in childhood? I will get around to writing about the other silly things I've done one of these days. Well, the home-made and decorated birthday cake is one of those
Anyway. I set the bar kind of high with my other kids' cakes, so I knew this one had to be special. My little M doesn't really have favourite activities (except stealing my iPhone), he doesn't have a favourite teddy to cuddle, he doesn't have any real obsessions (except yoghurt, and throwing things down the stairs). But he does seem to gravitate toward a certain 'hand-me-down' Mack Truck which transforms into a race track. So I decided to go with that.
I made it the night before after three glasses of wine (we'd been at another party), am concerned it's a little more red Mater than Mack Truck, but the kids seemed to like it. I misjudged the hat size when I cut the cake blocks, I hadn't realised how central Mack's Trucker cap was to the character before I started. Although, that was probably due to the wine, it seems so obvious now!!!
Anyone wanting some tips from a *very* amateur cake maker? I always think it's best to learn from other people's mistakes, don't you?!
- I laid THREE layers of rolled out white icing over the cake.
- I learned (this time around) that rolling the icing on a piece of glad wrap and smoothing over the cake with the glad wrap still on top is the best way to make the outline smooth (again, maybe obvious to most, but I'm no cake-maker!).
- I tried dying the white icing with pillar-box red food colouring, but couldn't get past pink. I ended up covering with white icing and painting the whole thing with a watercolour brush and a bowl of the red food colouring. That was one coat of red (because it was midnight and I was exhausted). I think two or three layers would give the best result.
- The grey pipes at the back are drinking straws I covered in grey dyed icing and then poked into the cake.
- This time I baked mud cake as sponge cake would have just collapsed under the weight of the icing (again, things I learned the hard way)
Wednesday, June 8, 2011
Cheap and cheerful nursery art
I know this has been done a thousand times in blogs all over the internet. But I thought maybe someone out there was itching for a new project... and didn't realise they probably have all the materials they need! It's so easy, anyone (I mean anyone) can do it :)
You need:
* a hideous old canvas (feel free to buy a new one if you don't have any embarrassing old paintings tucked away)
* scissors
* a stapler (does not have to be anything fancy, but the sturdier it is, the easier your job will be)
* fabric - I love this print, could not resistpaying way too much buying a piece
Step 1
Find somewhere firm and flat to work. Iron your fabric thoroughly.
Step 2
Trim your fabric to size and shape. I like to allow a couple of inches all the way around the outside. I also thought that I would like to cut a piece large enough that it's reuseable should I ever get sick of having it wrapped around a canvas.
Step 3
Fold the fabric around the canvas, securing with staples as you go. I just stretch and staple so that the front looks neat. I know there are proper rules for doing this, but I'm a wing it kinda gal.
Step 4
Secure with extra staples
Step 5
Stand back and admire your handiwork!
It really is so simple, but has added a little lift to a boring part of Small Boy's room. I wish I'd got the guts up to do more of these when the other two were small - it's a quick, cheap way to update a bedroom :)
You need:
* a hideous old canvas (feel free to buy a new one if you don't have any embarrassing old paintings tucked away)
* scissors
* a stapler (does not have to be anything fancy, but the sturdier it is, the easier your job will be)
* fabric - I love this print, could not resist
Step 1
Find somewhere firm and flat to work. Iron your fabric thoroughly.
Step 2
Trim your fabric to size and shape. I like to allow a couple of inches all the way around the outside. I also thought that I would like to cut a piece large enough that it's reuseable should I ever get sick of having it wrapped around a canvas.
Step 3
Fold the fabric around the canvas, securing with staples as you go. I just stretch and staple so that the front looks neat. I know there are proper rules for doing this, but I'm a wing it kinda gal.
Step 4
Secure with extra staples
Step 5
Stand back and admire your handiwork!
It really is so simple, but has added a little lift to a boring part of Small Boy's room. I wish I'd got the guts up to do more of these when the other two were small - it's a quick, cheap way to update a bedroom :)
Saturday, May 14, 2011
Biscuit 'Painting'
I can't believe we are three weeks into term already! Here's a little activity we did during the holidays, the kids are already begging to repeat it!
We used coloured icing in squeezy bottles to decorate Arrowroot biscuits. I had a few brand new empty squirty bottles in the cupboard which worked best, but we also re-used some tomato sauce bottles which were destined for the recycle bin.
We experimented together. We lay colours down side by side so see if the line would blur (it didn't). We made patterns on the biscuits and watched the colours run into the gaps. We dragged forks through the join lines to make funny, squiggly lines. We held the biscuits on their sides to watch the colours run down the biscuit surface. We decorated with lollies, finding the best contrast between icing and m&m colour. We had fun :)
Simple, fast and fun with minimal mess :) One tip, make sure you have people to visit after making these. You don't want all that sugar hanging around in your house ;)
We used coloured icing in squeezy bottles to decorate Arrowroot biscuits. I had a few brand new empty squirty bottles in the cupboard which worked best, but we also re-used some tomato sauce bottles which were destined for the recycle bin.
We experimented together. We lay colours down side by side so see if the line would blur (it didn't). We made patterns on the biscuits and watched the colours run into the gaps. We dragged forks through the join lines to make funny, squiggly lines. We held the biscuits on their sides to watch the colours run down the biscuit surface. We decorated with lollies, finding the best contrast between icing and m&m colour. We had fun :)
Simple, fast and fun with minimal mess :) One tip, make sure you have people to visit after making these. You don't want all that sugar hanging around in your house ;)
Friday, April 1, 2011
Impromptu art class at the beach
I love the beach. Mr Z goes to school near the beach, so I am almost there almost every day. Today we decided it was high time we made the most of our proximity and actually went :)
We looked at different textures (and walked the plank):
We drew:
We looked at different textures (and walked the plank):
We drew:
and enjoyed the view.
Friday, February 25, 2011
Aren't they clever?
I've been wanting to decorate the walls in my house for ages. I wanted to get rid of the old prints we have from our pre-kid days and put up our own artwork and photographs. Look at what my kids did!
They're ready to be hung over the cabinet by the back door - we just need a trip to the hardware store for some 3M hooks :)
Here are some action shots of the Small Boy's effort:
They're ready to be hung over the cabinet by the back door - we just need a trip to the hardware store for some 3M hooks :)
Here are some action shots of the Small Boy's effort:
Thursday, January 27, 2011
Babushka Designs - on facebook :)
I did it - I opened a Facebook shop! I'm just going to see how it goes - I may be back to etsy before you kow it ;)
Here are some of the things I have on offer:
We'll see how it goes...
________________________________________________________________________________
PS. Didn't go so well! So I'm back to selling to friends :) If you are after any of my 'creations', leave me a message and I will get back to you ASAP!
Saturday, January 22, 2011
Why not... Today?
I usually have a New Year's Resolution which I try to stick to.
One year it was... 'Wear less black' (harder than it sounds). Life seems so much easier when you know you can get up and put on a black t-shirt and a pair of jeans. It was a struggle, I'll admit, but I learned to incorporate a bit more colour in my life - even if it just meas that sometimes with my black pants and black top, I add a colourful piece of chunky jewelry before heading to work.
Last year it was, "Sometimes... say no" (even harder). I'm a bit of an all-or-nothing type of girl, so saying 'yes' to everyone gets me into a lot of trouble regularly!!! Hard as it was, I did learn to say no - I've learnt to value my time and patience as a result. I hope I didn't offend anyone along the way.
This year it is, "Why not... today?" I hate regrets, I hate hearing about regrets, I don't want regret in my life. So I decided that part of valuing my job as a mum is to make sure I don't end up with regrets... nothing is worse than feeling that you were the cause of some regret that has formed in someone else.
So... I'm going to go back to doing some writing - maybe just for myself, maybe for my kids, no idea really. For as long as I can remember I have wanted to be a writer. I remember being about five years old and having to colour the hammers on an ancient typewriter with green felt pen so that I could type lists and random five year old thoughts. I went to uni to become a journalist simply because I thought it would give me time and excuse to do more writing. I've kept journals and diaries for over 20 years just to record who I am - sometimes I go back and read these and laugh while I consider burning the evidence that that was ever me. So I'm gong to do more of some or all of that.
I'm finishing up all the things I've been putting off - cleaning out the pantry, taking stuff to goodwill, finishing random crafty projects. And I'm valuing my artwork, I've decided to sell off a few bits and pieces that I've made and get back into making more bits and bobs - it really makes me happy.
Wish me luck!
One year it was... 'Wear less black' (harder than it sounds). Life seems so much easier when you know you can get up and put on a black t-shirt and a pair of jeans. It was a struggle, I'll admit, but I learned to incorporate a bit more colour in my life - even if it just meas that sometimes with my black pants and black top, I add a colourful piece of chunky jewelry before heading to work.
Last year it was, "Sometimes... say no" (even harder). I'm a bit of an all-or-nothing type of girl, so saying 'yes' to everyone gets me into a lot of trouble regularly!!! Hard as it was, I did learn to say no - I've learnt to value my time and patience as a result. I hope I didn't offend anyone along the way.
This year it is, "Why not... today?" I hate regrets, I hate hearing about regrets, I don't want regret in my life. So I decided that part of valuing my job as a mum is to make sure I don't end up with regrets... nothing is worse than feeling that you were the cause of some regret that has formed in someone else.
So... I'm going to go back to doing some writing - maybe just for myself, maybe for my kids, no idea really. For as long as I can remember I have wanted to be a writer. I remember being about five years old and having to colour the hammers on an ancient typewriter with green felt pen so that I could type lists and random five year old thoughts. I went to uni to become a journalist simply because I thought it would give me time and excuse to do more writing. I've kept journals and diaries for over 20 years just to record who I am - sometimes I go back and read these and laugh while I consider burning the evidence that that was ever me. So I'm gong to do more of some or all of that.
I'm finishing up all the things I've been putting off - cleaning out the pantry, taking stuff to goodwill, finishing random crafty projects. And I'm valuing my artwork, I've decided to sell off a few bits and pieces that I've made and get back into making more bits and bobs - it really makes me happy.
Wish me luck!
Tuesday, May 25, 2010
Art class...
Two weeks ago, I went to a printmaking workshop with the talented Caryl Plant. I'd done a printmaking for teachers class with her two years ago and was hoping this class would give me some more inspiration in making a mess at home for teaching printmaking at school.
We used shellac to make print templates using old curtains and embroidery hoops
(I did one positive and one negative design to keep as demo pieces)
We also cut stencils from easy-cut paper
(More babushkas, couldn't help myself!)
and we were allowed to use Caryl's silk screens to take a print of some of her more popular work
It was basically a repeat of the class I'd taken two years ago, so not quite what I was hoping for, but a fun afternoon nonetheless... Am hoping to be able to do some of these things with kids at school - maybe even toward the end of this year (depending on how the littlest Ephraims behaves himself).
______________________________________
PS Don't look up Shellac in a dictionary if you enjoy eating skittles...
Subscribe to:
Posts (Atom)
I love reading your comments, thanks for stopping by :)