Pages

Showing posts with label tutorial. Show all posts

Tuesday, September 24, 2013

How to make a mermaid tail

The things we do for kids, hey? 

A few months ago Miss Piggy asked me if I would make a mermaid tail. I, of course, was very non-committal, suitably vague and said something along the lines of, "Well, maybe in the holidays.." I hoped she would forget about it. She didn't. 

On the weekend I took a trip to Spotlight to buy some new blinds and Miss Piggy innocently volunteered to come with me.

When she mentioned a tour around the fabric section I began to smell a rat, but it wasn't until she produced a $20 note and said, "Daddy said I could buy the fabric for my mermaid tail," I realised I'd been conned. 

So we wandered through the dance fabrics and swim fabrics perusing all sorts of shiny, scary, sequinned type material until we found one that was just right. Green and shiny like Arials. Luckily it was on sale. 

On the way to the counter I reminded her mummy is a beginner with sewing, that mummy would try her best but couldn't make any promises - this mission was bound to end in disaster. At the counter Miss Piggy cheerfully announced to anyone who was listening, "My mum is making me a mermaid tail!".  All the ladies around the counter looked at me with pity and smiles. It seemed like an impossible errand. 

But today was a designated crafty day for Miss Piggy and ... guess what? By some miracle, we managed to make a mermaid tail!!! The stitching may not be grand - and it may have lost some of it shine on its first trip out - but we achieved our goal, nonetheless. 

Step 1: trace around the legs of the prospective mermaid, leaving a seam allowance. Trace onto folded fabric (right sides together). Make sure the stretch goes ACROSS the body. I traced all the way up to her arm pits - just in case!

Step 2: draw in the flume

Step 3: pin, cut and sew around the outside of your pattern, leaving the top and bottoms open
Step 4: turn right side out, mark and pin flume.Sew along the marked line.  I marked the shape of the tail in yellow texta, it rubbed right off the shiny fabric when I was done.


Step 5: cut strips along the bottom of the flume, being careful not to cut your stitching. 


Step 6: cut the strips into waves for that 'floaty' effect in the water


Step 7: try on! Enjoy! 

I scrunched and folded the top to form a waistband at the appropriate height, this allowed for some slippage in the water without the tail falling off. You could add elastic for the same effect. 

Here are some action shots:
 
We had to race straight over to Nana's pool to try it out!


Actually, this project was simpler than I thought. The only real issues I had was having the wrong needle for sewing Lycra. Luckily, after a quick 'emergency' phone call, 'Daddy' visited the fabric shop and brought home the correct needle during his lunch break - Miss Piggy can be quite persuasive, especially when it comes to her daddy!!!  

I wonder if today is a day she'll think back on when she is older? I hope so, it was a good one :) I'm happy I made her smile :)

Saturday, August 11, 2012

Tip: colouring fondant red

I love working with fondant when it comes to making my kids' cakes. It's kind of like year nine art class all over again, and despite my reluctance to start a new project, I always come away feeling ok about my efforts as a mummy who decorates!

Red fondant is a tricky one, though. Where we live it has to be ordered and sent and as I am a last minute kind of girl, who have birth to similarly last minute kind of children (I want a train cake...no - Yoda... hang on, I think I want a red ninja cake... or...) I just never get my act together in time to do anything as grown up as ordering ahead. Plus, I am a Scrooge and like to keep things cheap and cheerful where possible.

So... having made both Mater Truck and a Red Power Ranger Samurai cake this year, I thought I'd share my secret to 'el cheapo' red fondant icing.

Paint it.

As in with a paint brush.

Easy, isn't it? I use a watercolour brush and red food colouring and have found that two quick coats gives a beautiful sheen - and limits the amount of red colouring your little munchkins will ingest (not a fan of all those E numbers or hyper kids).

Saturday, May 26, 2012

First steps... treasured forever

When it comes to my kids, I'm a pretty sentimental person. I take way more photos than I should, I keep a journal of all the funny little things they do that make me laugh - and sometimes I keep bits and pieces of their history that make absolutely no sense.

I know lots of people who have kept their babies' first shoes as a keepsake. My daughter had a pair of those gorgeous snowy white shoes as a baby, but I didn't have any real connection to them so I gave them away.

The shoes I have a real connection to, the ones I couldn't bear to give/throw away, are the ones they wore aged one - the shoes they learned to walk in.

Everytime I look at those scuffed little remnants of their babyhood, I see first steps followed by smiles, congratulations and clapping. I remember all the trips and falls followed by snuggles in my arms as I kissed their tears away. I see those funny little baby dances they used to do - stamping their little feet proudly in time to the music or just at random, sometimes with frustration but mostly with happiness. I remember them running toward me (or away from me) filled with smiles and giggles. Those shoes are sometimes 'just' clutter in my wardrobe, but usually among my most favourite artefacts of motherhood. I knew I could never let them go.

So... today, I framed them.

Note: She dressed herself today - she was so proud to have found clothes that apparently match!


I framed all those precious memories, encase forever in tired, worn, scuffed shoes.


I sewed cardboard to their soles so I wouldn't have to hot glue the shoes directly to the frame.
I know it's unlikely I'll need to, but I wanted to make sure I could rescue those little shoes
intact, if the need arises.


When I started the project, I realised that I'd bought a framed print rather than an empty frame, so it was lucky I'm handy - I took that frame apart with a screwdriver and then put it back together with hammer and nails. My oldest son was amazed at how quick I am with a hammer - something I learned from growing up with a carpenter for a father!


Look at how much those little feet have grown in only a few years. The third pair of little feet were busy running out of the frame! They say your kids grow up in the blink of an eye, and they're not wrong, I can't believe seven years have passed since I set up that little cot in the spare room.

3M to the rescue, I didn't even have to annoy my husband with asking for a nail in the wall - a complete DIY project that I'm glad to be finished.

Now I have a little keepsake on my wall, to look at every time I put on my shoes at my back door. And I don't have to feel guilty for hoarding such silly things as dirty old shoes ;)


Thursday, December 22, 2011

DIY Christmas stockings

We seem to have lost the kids Christmas stockings - I fear they might have gone out with the wrapping paper in 2009 - so this year I decided to make new ones with the kids.


They had a lot of fun - Miss Piggy and I went out to Spotlight to choose the fabric (that wasn't so fun, MP had a meltdown over 'too many choices') then I worked with them one-on-one to get the stockings done. Each one took about half an hour to complete, even with little hands assisting.

We cut a stocking shape from scrap paper

We chose fabrics - one thick strip and a thinner strip for the top


We folded the thinner strip of fabric in half and sewed it to the thick strip. I top stitched where the fabrics joined.


We folded the strip in half (right sides together) then we traced the stocking onto the fabric


We cut and we sewed (the kids pushed the pedal on the machines)

No, I haven't brushed my hair! Don't judge me, I'm on holidays!

And we were done!

We hot-glued decorations on the front and loops for hanging at the top.


The kids are so proud to have made their very own stockings!

Monday, December 19, 2011

Christmas decoration from scraps

Because I work with small people, I'm always on the lookout for simple, quick and cost-effective (ie almost free) craft activities. Here's something I came up with in front of the telly. It's one of the projects that didn't make the 'cut' for doing with a large group of kids as it was a bit too involved for small hands to do independently. More of a one-on-one type activity if small people are involved.


Puffy fabric tree decoration:

1. Locate all materials - fabric scraps and embellishments.


2. Cut four identical squares. Trace circles onto two of them.


3. Sew felt embellishments onto the circle - mine are felt hearts and I sewed them on using the machine. You may choose to hand stitch.

4. With right sides together, sew around the circle line you traced at step 2. You can sew directly on the line or just inside the line. Up to you. Leave a gap at the top for turning inside out.


5. Trim and notch the edges of the circles. Or just cut around with pinking shears if you aren't too fussy (I'm not).

6. Turn inside out and stuff.


7. Now decorate. You can use the open part at the top to sew in a ribbon if required. I crocheted a border around the outside, you may choose to sew or glue on lace, ribbon, anything. Remember, this is a project for kids, so I'm keeping it simple!


8. Go delight grandma with your beautiful home-made ornament. Or hang on your own tree!


Enjoy! I'll be back tomorrow with an even simpler ornament - a sew along I did with more than a dozen kids.

Saturday, October 8, 2011

Lemonade Scones

It's stormy here today, so nice to be able relax in comfy clothes and listen to the wild weather outside from the warmth of our kitchen!

We're waiting for these scones to cook as I type. This is a simple little recipe I got from my sister. Easy to make with kids, quick enough to throw together if someone is due to drop by in ten minutes.


Lemonade Scones:

Ingredients:

3 cups of SR flour
180 mL cream
220 mL lemonade

Method: (emergency, done in a flash version)

1. Combine all ingredients.
2. Stir thoroughly
3. Spread mixture into a lamington pan
4. Cook at 180 C for 10 - 15 minutes
5. Cut into squares, serve and enjoy

______________________________

That's it! That's all you need to do to get that satisfied "Why yes! I *am* a real housewife!" feeling :)
This time, we went a little bit fancier as Little Miss wanted more 'cooking' to do.


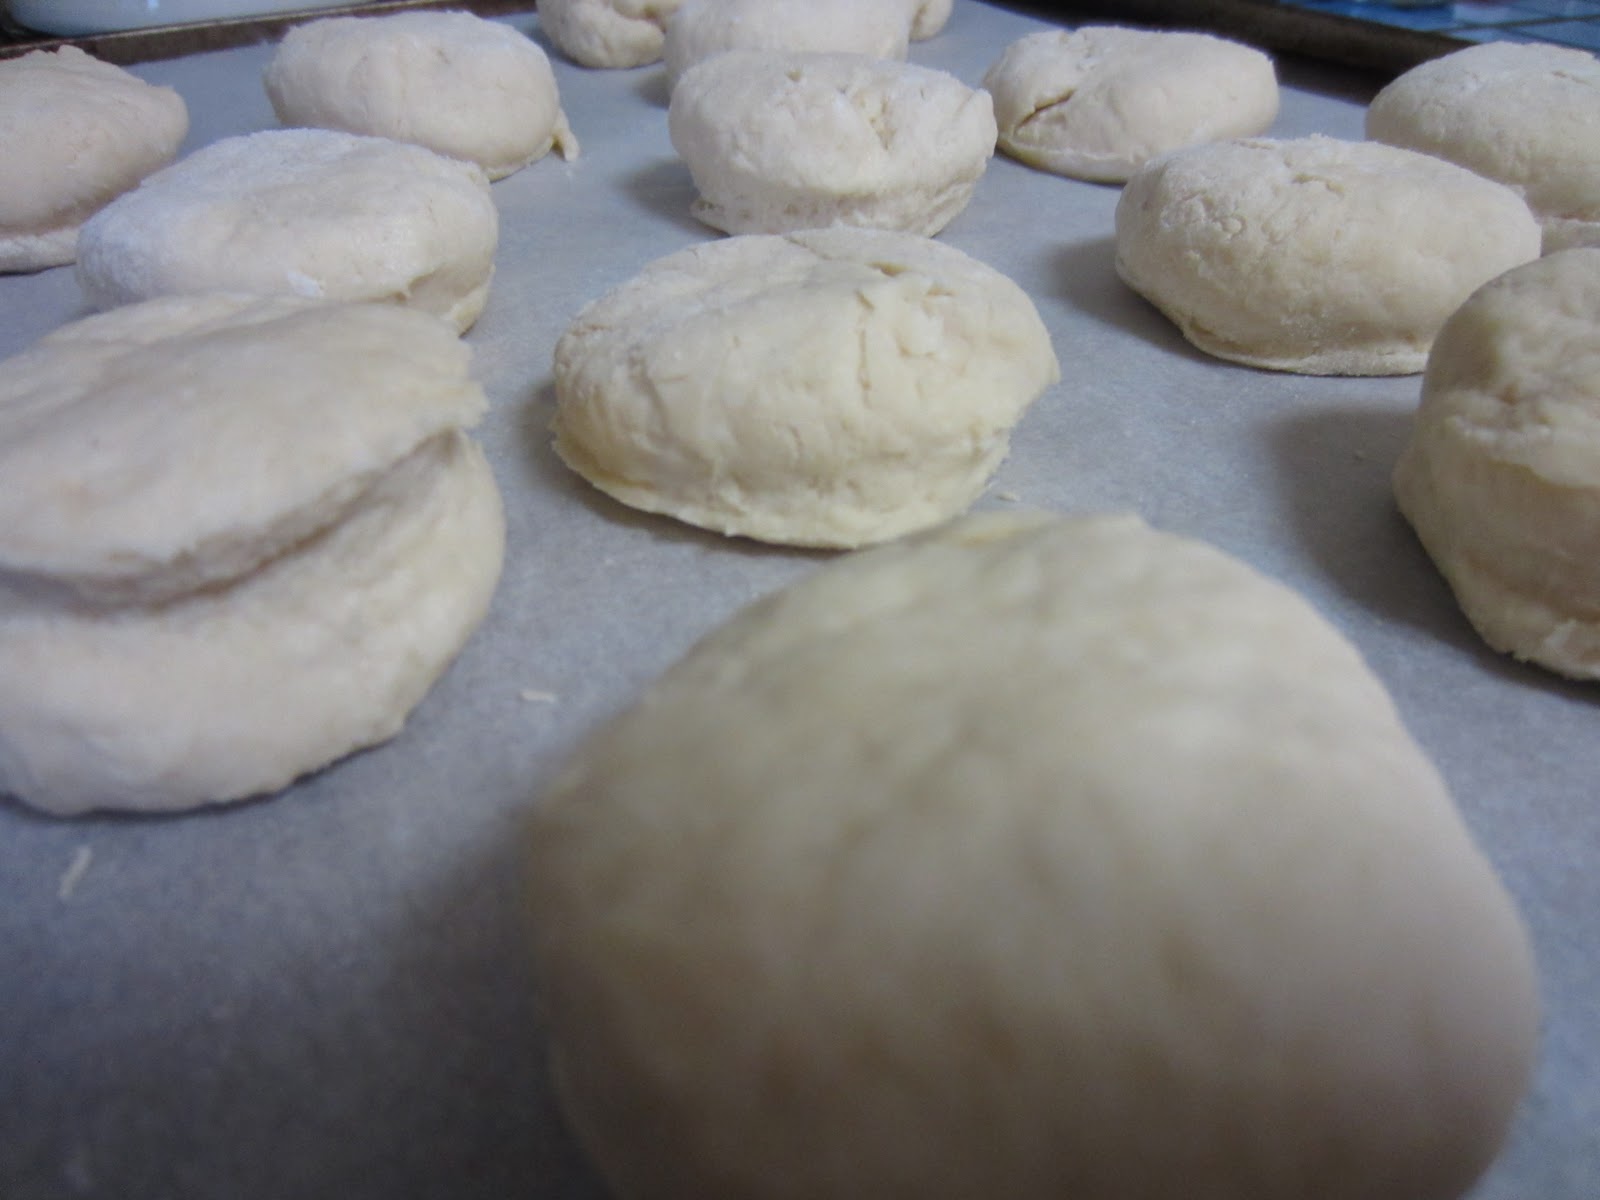
So we spread the mix on a floured board and cut out circles with a tiny mug.


Toward the end we just rolled the mix into balls


and then set all the 'pieces' on a board


When they were done, we enjoyed them with our homemade jam  :) Yummy!

Thursday, August 4, 2011

Make your own mermaid... part two!

This is part two of a tutorial. For part 1, click here.

Step 7


Cut around your pieces, leaving 3 - 4 mm around the edges. Clip the curves


Step 8


Using a crochet hook or similar (the finer the better), carefully turn your pieces inside out. I won't lie, this is very frustrating, so make sure you have some patience handy!


Step 9


This step gives the tail some shape and structure. Carefully stitch around the outside of the tail piece, sewing stripes along the fin for a detailed look.


Step 10


I love sharpies! My hubby sometimes brings me one or two home as a little pressie, such is my adoration of them! You can use fabric markers if you like, but these are cheap and just as effective. Be bold, draw that mermaid face in! Of course, you might be more careful than me and have a practise on a piece of scrap first, but I always think there's nothing like diving in. That's probably why this mermaid looks a bit cross-eyed!


Step 11


Lightly stuff both pieces - starting with the head and arms. I overstuff the head a teeny bit to give it a fuller shape. The back end of a crochet hook also helps to get stuffing right down to the hands.


Step 12


Trace and cut out your hair pieces. I used felt for structure and because it doesn't fray.


Step 13


Using colourful cotton (I used silver and red) sew in some hair strands. You will need to sew strands on each piece separately. Join the two pieces together using a row of stitching around the outside only.


Step 14


When the two pieces are joined, you are ready to slip your wig on your mermaid!


Step 15


Stuff the body inside the tail, add the wig and secure using hand stitching. Then you are ready to decorate!

Click here to see some variations on this pattern.


_______________________________________________
Please let me know if you made a mermaid! Feel free to make them for friends and family or to sell on your craft stall. If you'd like to share this with a friend, please send them on over to take a look!
I love reading your comments, thanks for stopping by :)